It's vital to remain connected in the present speedy computerized world, particularly for businesses that must communicate rapidly with individuals. Still, the fact that iPhone alerts sometimes don't show up could make marketing efforts less effective.
Businesses that want to get the most out of their marketing efforts and keep things running smoothly with their audiences need to know why this happens and how to prevent it. One of the best ways is to enable push notifications iPhone.
This article summarizes how to enable push notifications on iPhone to ensure your business reaches your audience in a timely!
Part 1: Notifications Don't Show Up on Your iPhone?
What Happens When Notifications Don't Show Up on Your iPhone?
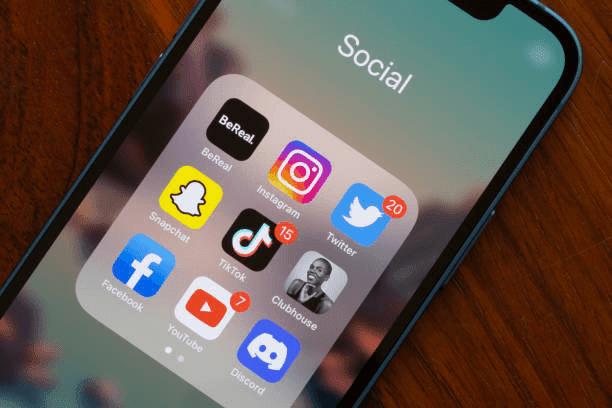
For individual users: Do you find it annoying when your iPhone's screen goes blank when you have an important message? You're not by yourself. Indeed, even the most advanced devices, like the iPhone, occasionally have specialized issues preventing cautions from going out. This has many purposes, from identifying problems with the product to emphasizing how well it will function with different projects. Further, misconfigured settings or changes made by users by accident can worsen the problem and make it impossible to respond quickly.
For Enterprise: Companies that count on constant communication with their target market may suffer a lot when alerts aren't delivered. Customers will immediately be annoyed, and the company could lose money because of missed sales chances, less engaged customers, and a bad reputation. In a time when the customer experience is everything, you need to deal with these problems if you want your marketing efforts to keep working and for communication to stay open. Enable push notifications iPhone fixes messaging problems and improves your device settings so that you can have less of an effect on your business and stay ahead in the market!
Source: istockphoto
So Why iPhone Push Notifications Are Not Working?
Below is a compilation of some of the common reasons why iPhone push notifications not working.
Reason 1: Special Issues - iPhone push notifications do not work
-
Incorrect System Settings
the system date and time are set incorrectly, or the system has other setting problems.
-
Network Connection
An unstable network connection or inability to connect to the Internet will fail to receive notifications.
-
App Bugs
The app may have bugs or be incompatible with the current iOS version, resulting in the notification function not working.
-
System Update
The iPhone's system has not been updated to the latest version, which may be incompatible with some apps and affect the push of notifications.
-
Insufficient Cache
The app or system cache may cause the notification function to malfunction.
Reason 2: Mode Settings - iPhone push notifications do not work
-
Device Do Not Disturb Mode
The device is in Do Not Disturb mode, which may cause notifications from all or specific apps to be muted.
-
Self-set Focus Mode
You may have set a focus mode (such as Sleep, Do Not Disturb, or Work mode)
-
Battery Power Saving Mode
iPhone's low battery mode may limit background activities, including notification pushes
The solutions for the above two types of reasons why iPhone doesn't push messages usually include checking the app's notification settings, making sure the app has the right permissions, checking the Do Not Disturb and Focus Mode settings, making sure the network connection is working properly, restarting the device, and updating the app and system version. If none of the above methods can solve the problem, you may need to contact Apple's official support for further assistance.
Reason 3: Notification settings are turned off
-
Active Off:
You may have actively or accidentally turned off the notification permission of an app when you downloaded it.
-
Background Data Restriction:
You have set the app messages not to be received when using mobile data or Wi-Fi settings.
If you can't receive messages because you don't know how to enable push notifications iPhone,please read on!We've prepared 4 ways for you.
Part 2: Step by Step! How to Enable Push Notifications iPhone
Are you ready to regain control of your iPhone's alerts and ensure you never miss another important message? Follow these steps to enable push from settings and make your conversation process more smoothly.
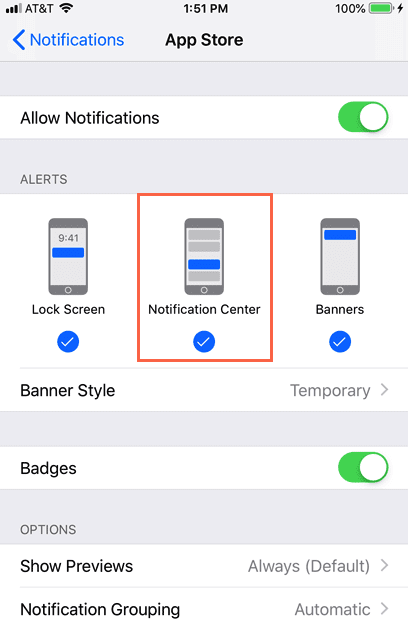
Way 1: Open from the Lock Screen
- Use the Sleep/Wake button or a light tap on the screen to ensure your iPhone is on.
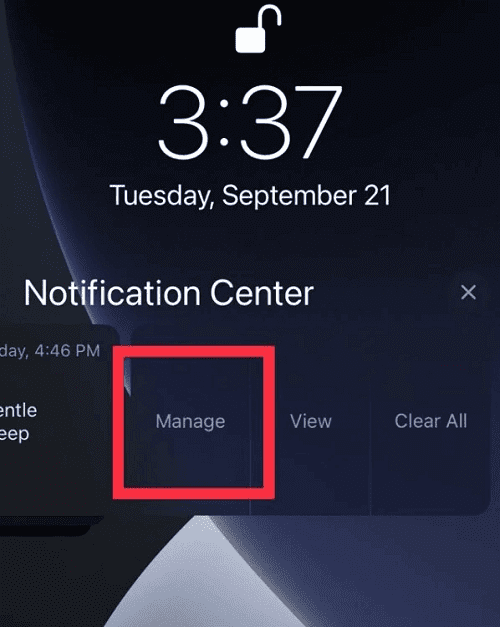
- When you wake up your device, any alerts still waiting will appear on the lock screen. Swipe left on the notification you want to turn on to see more choices.
- Press View or Manage to see the app-specific message settings.
- In the notification settings, find the Allow Notifications button and make sure it is turned on. This will enable push from settings and let the chosen app send push alerts.
- You can change other notification settings, such as noises, alerts, or labels, to make your notification experience even more unique.
- Once you're happy with the choices, close the settings and take it easy. The app will send you notifications on your lock screen immediately.
Source: Google
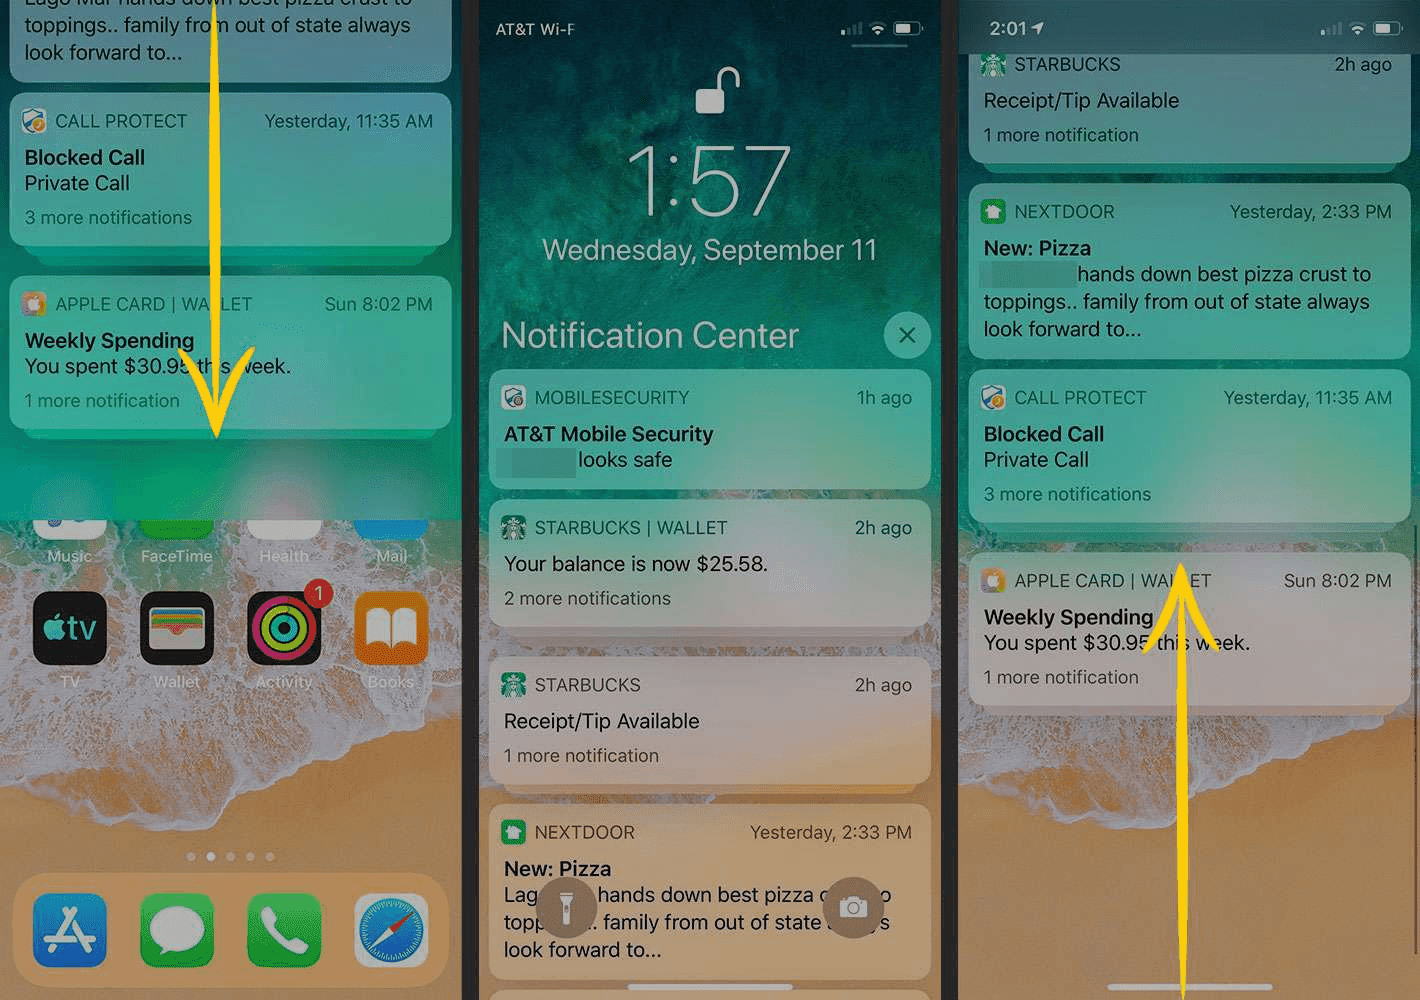
Way 2:Open from the Notification Center
- The iPhone's Notification Center is easy to get to. Drop your finger down from the highest point of your screen to get to the Notification Center. There, you can see a full rundown of the relative multitude of notifications that have been sent to you lately.
- Go to the Notification Center and find the app whose push messages you want to turn on. You'll see a list of recent alerts from different apps, which makes it easy to pick the one you want to use.
- To move on, press and hold the notification banner related to the app you want to use. By doing this, you can change how that app's alerts work, which gives you more choices.
- Find the Manage Notifications option and tap it to see the app's message settings. This step gives you fine-grained control over how app alerts are sent and shown.
- To enable push notifications iPhone, go to the notification settings and make sure the Allow Notifications button is turned on. To suit your tastes, you can also change other notification choices, such as sounds, alarms, or banners.
- After making the necessary changes, close the notification settings window and take it easy. The app will send you timely alerts through the Notification Center.
Source: Google
Way 3:Enable Push from Settings
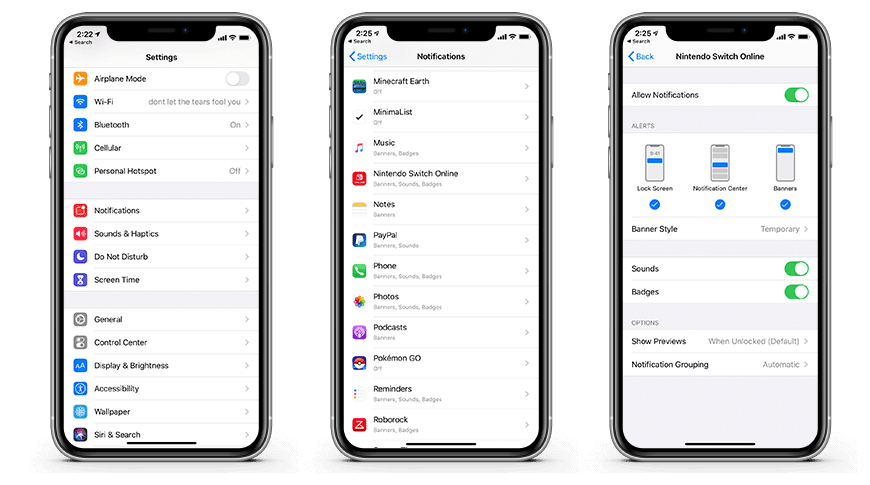
- After opening your iPhone, see the Settings application on the home screen. If you want to change various settings on your gadget, go to the Settings application, which is addressed by a stuffed picture.
- When the Settings app opens, look through the list of choices to find the Notifications tab. If you tap this choice, you can see a complete list of all the installed apps with notification features.
- Select the app you want to enable push notifications iPhone from the alerts menu. If you click this, you'll be taken to the app's notification settings page, where you can change how the alerts work.
- Once you've picked the app you want, a group of toggle switches that say Allow Notifications will show up. To enable push notifications on the iPhone for the chosen app, press the on button. By doing this, you can be sure the app will send alerts and changes to your phone at the right time.
- Besides turning on push notifications, take advantage of the chance to change other notification options to suit your tastes. You can change many settings, like the badge app icons, alert styles, and notification sounds, to make the notification experience just how you like it.
- When you're happy with the notification settings, close the Settings app. Now, you can safely turn off push alerts for your chosen app. Significant changes and alerts from your favorite apps will keep you informed and up-to-date in the future. These will be sent to your iPhone's lock screen or Notification Center for easy access.
Source: Google
Way 4:Schedule a Notification Summary
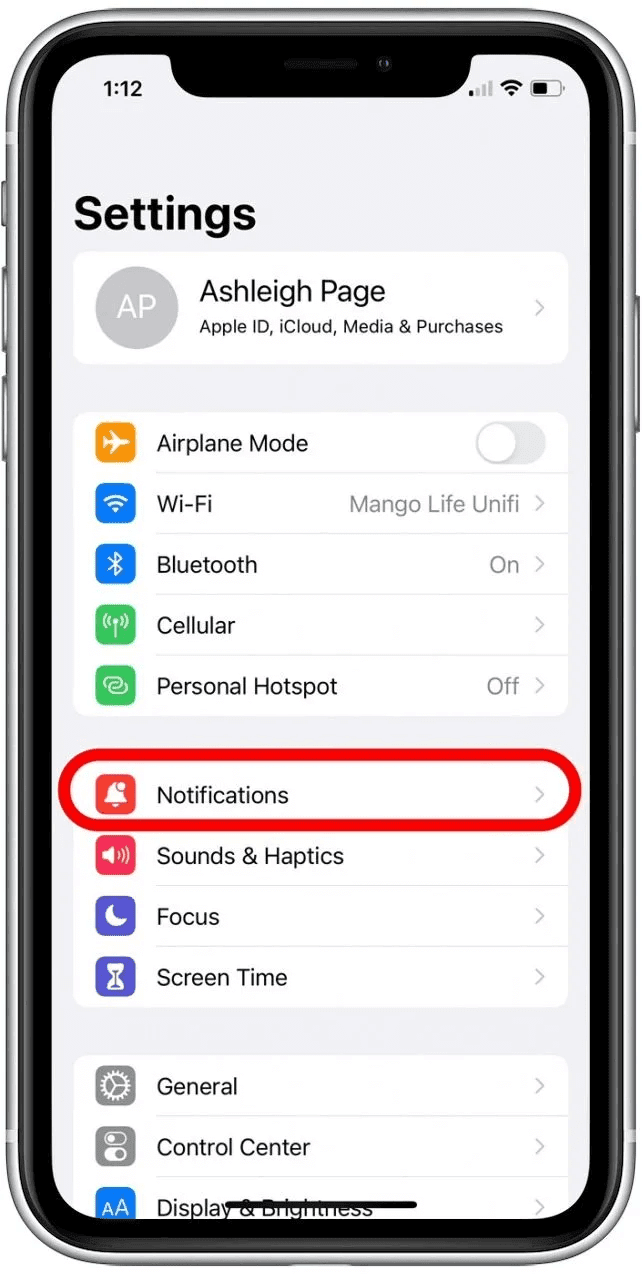
- You should set up an iPhone notice outline to benefit from your alarms and handle them better. See theSettings application on your gadget's home screen and tap it to open it.
- Open the Settings application and look down through the changed decisions until you find Notifications. You can change how notifications are sent and shown for all installed apps in this area.
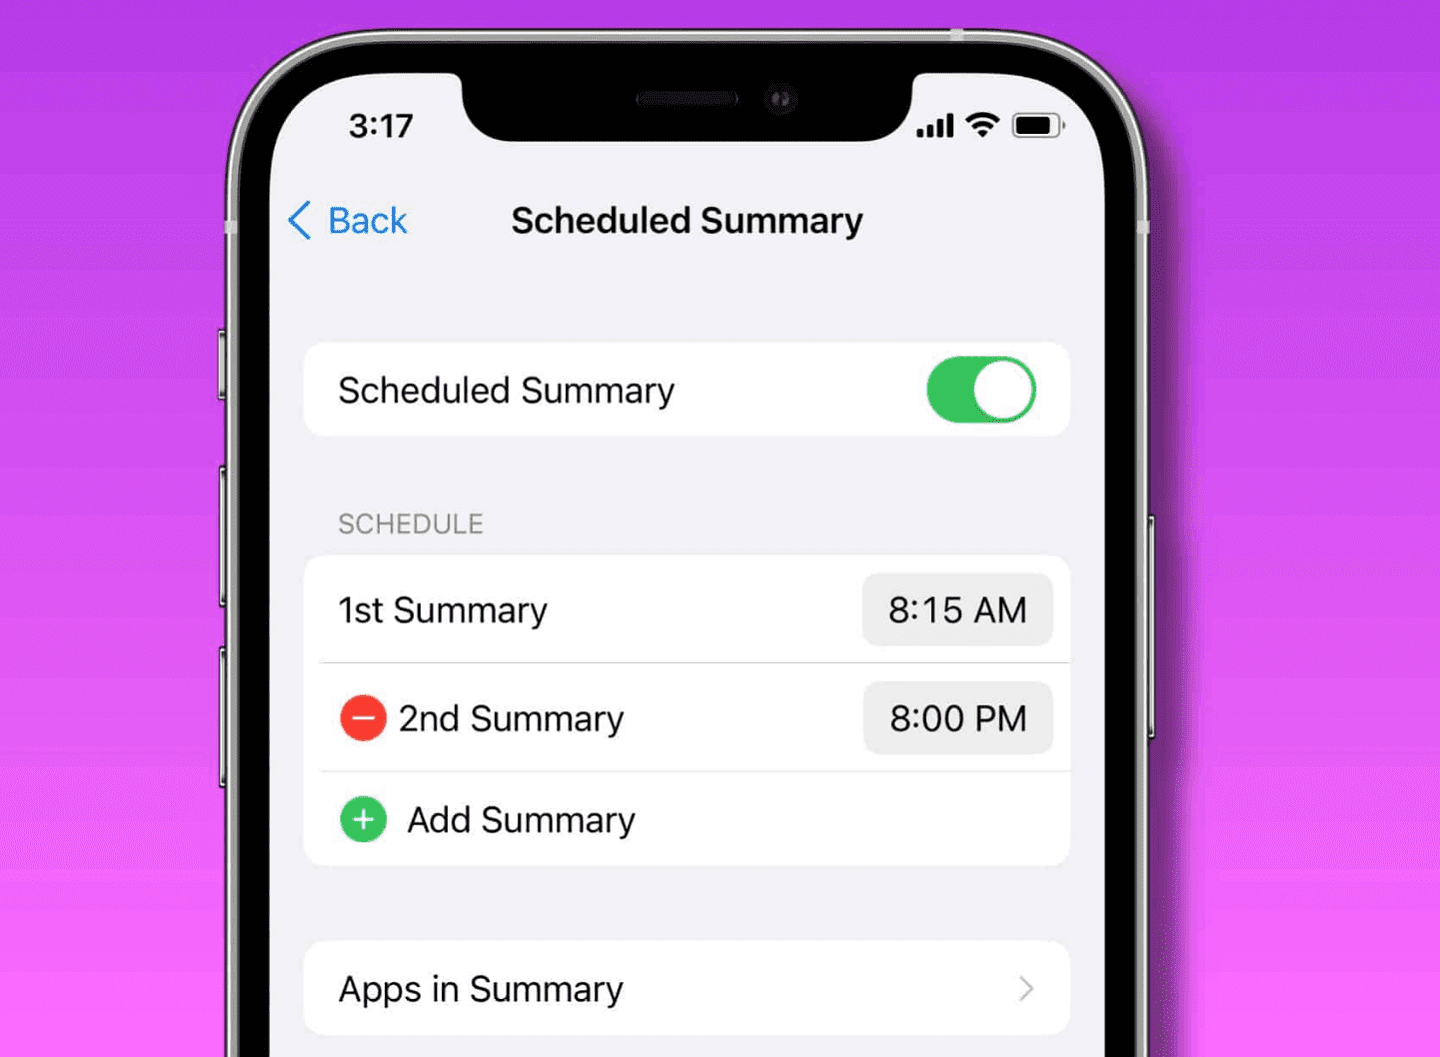
- Go to the Notifications menu and find the Scheduled Summary choice. This feature helps you avoid notification overload by putting multiple app tips into a single summary. It also makes the notification experience smoother.
- Flip the switch to the on setting to use the Scheduled Summary feature. By doing this, you can change the content and delivery schedule of the notification summary by showing you more choices.
- Pick when you'd like to receive your message summary. Pick a schedule that works for you and your usage habits. You can get it once a day or several times during the day.
- Change the apps and importance levels shown in the message summary. You can pick which apps to get alerts from first, so the ones you use the most will always inform you about significant changes.
- Once you're done changing the settings for the notification summary, close the Settings app and enjoy a more streamlined and organized notification experience on your iPhone.

Part 3: User Reach Specialist EngageLab - More Than Push Notifications
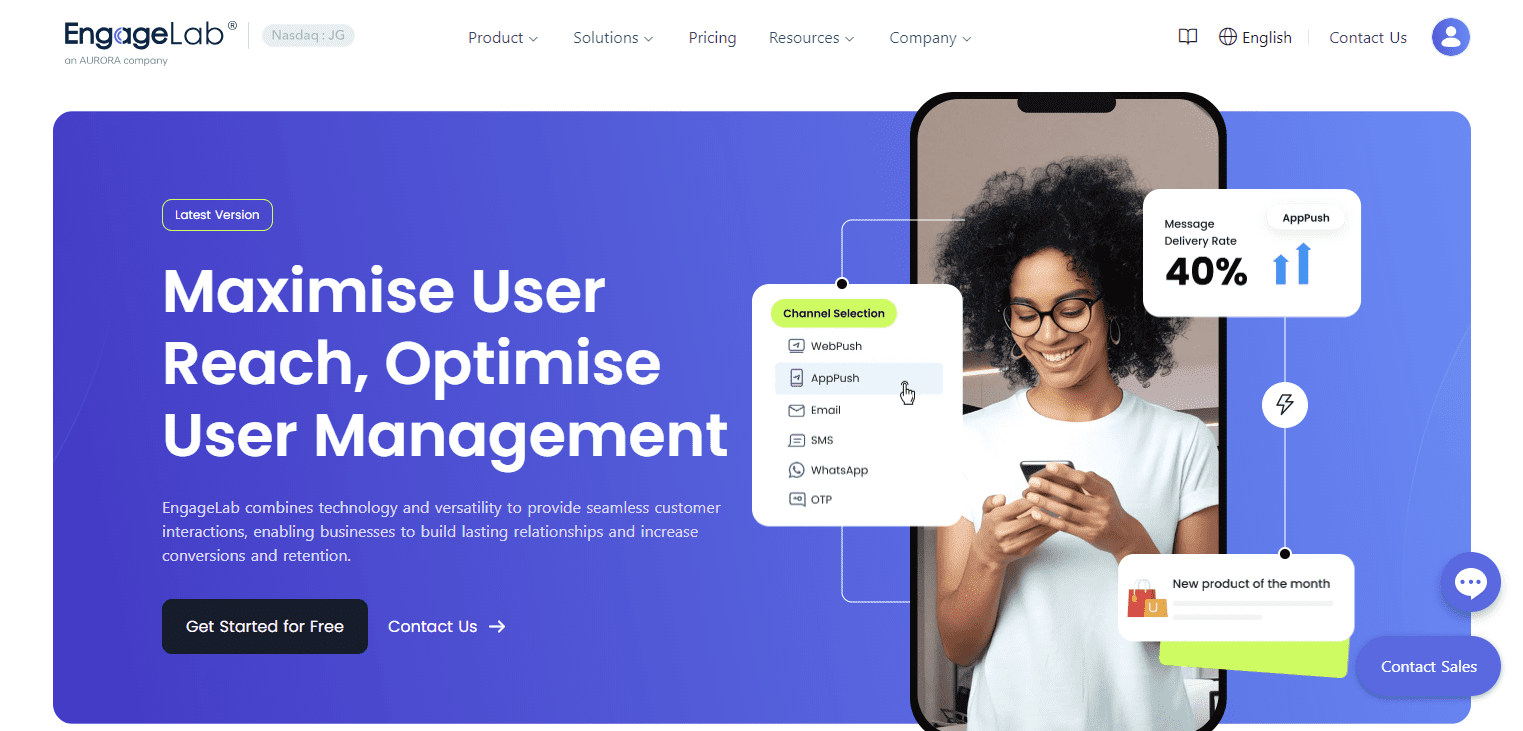
Welcome to EngageLab, the best way to reach and connect more users besides traditional push notifications. Even though push notifications work, EngageLab goes one step further by fully supporting pushing alerts for specific apps and information about the iOS operating system. If you're interested in integrating our SDK, check out the documentation. This is what makes EngageLab different:
Diversified Push Methods
EngageLab lets you send important information about the iOS system directly to users' devices, which differs from standard app push alerts. EngageLab ensures that your users get messages quickly and correctly, whether system updates, alerts, or notes.
High Delivery Rates
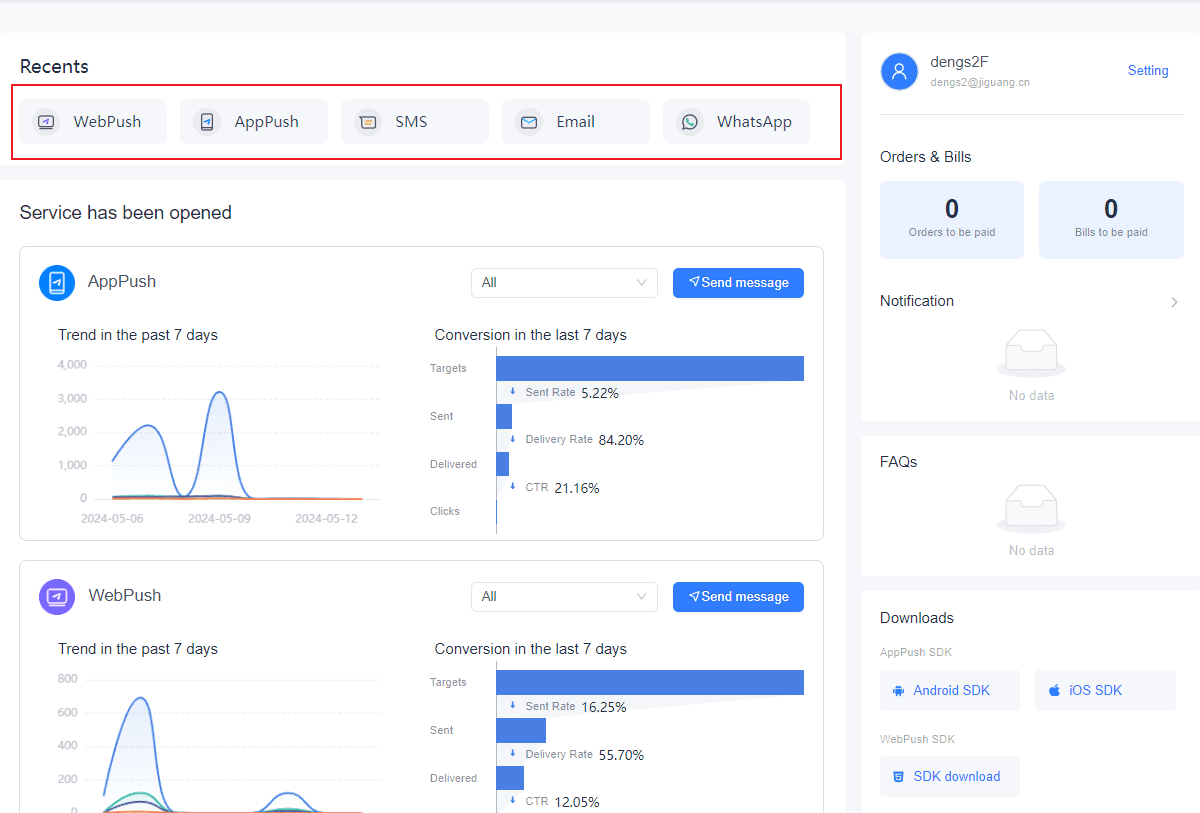
A critical metric in assessing the effectiveness of any push notification service is its ability to maintain high delivery rates. EngageLab excels in this arena, distinguishing itself as a premier choice for businesses looking to optimize their user reach. The platform's robust infrastructure is finely tuned to ensure that notifications are sent received and engaged with by the target audience.

Compliance Assurance
Following strict rules about data safety is very important these days. Compliance with industry standards and regulations is essential to EngageLab. This is how we ensure your push alerts follow privacy laws and rules. You can rest easy knowing that how you send messages is legal and works.
Convenient Data Management
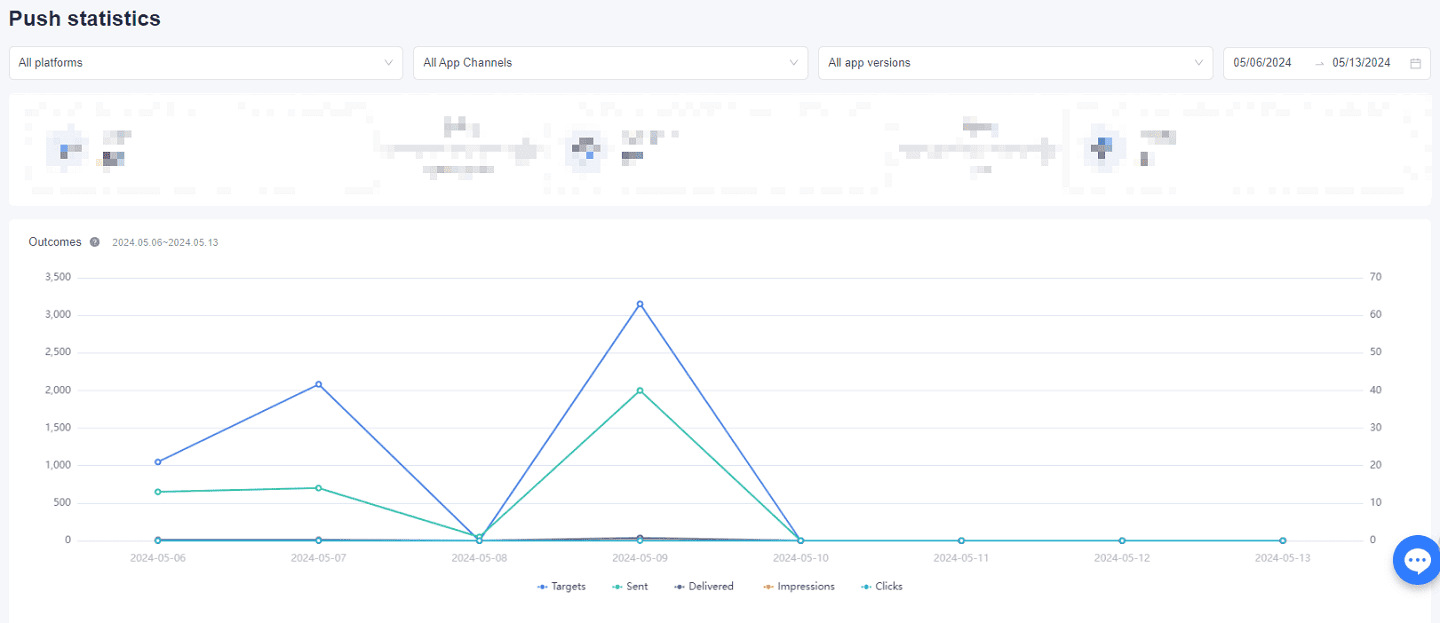
In the realm of push notification services, EngageLab stands out not only for its ability to deliver messages efficiently but also for its sophisticated data management capabilities. This feature is particularly valuable for businesses that prioritize data-driven strategies and seek to enhance user engagement through tailored communications
The Bottom Line
In conclusion, learning how to enable push notifications on your iPhone is essential to facilitate contact and interaction, especially in the fast-paced world of business marketing. From understanding why some notifications don't work, to using different methods to make push notifications work, this post has provided you with the information you need to stay in touch.
But why stop there? EngageLab is the best push messaging service you can use to reach more users and get them more engaged. We've got you covered on exactly how to set up iOS push notifications, so check out that article if you're interested.
Are you ready to move forward with your communication plan? See the difference for yourself with a free trial agreement from EngageLab. Take advantage of this opportunity to change the way you use push notifications and engage your audience more.
Related Reading
Learn more about push notifications and iOS in the article below!

