 AppPush
 WebPush
 WhatsApp
 Email
Email SMS
SMS OTP
OTP Marketing Automation
Creating a Journey
This reference article covers the necessary steps involved in creating, maintaining, and testing a journey.
1. Creating a Journey
Step 1: Create a new Journey
Go to Engagement > journeys, then select Create Journeys.
Step 2: Add Components to the Workflow
- Start Component: Every journey begins with a Start component. There should be only one per journey, and it outputs to the next component.
- Message Components: Include at least one message component, such as App Notifications, Web Notifications, Email, SMS, WhatsApp, etc. Each message component must have defined input and output connections.
- Behavior Triggers: Use behavior triggers to segment users based on specific actions (e.g., purchase, session start).
- Delay or Time Constraints: You can use Wait or scheduled time components to control when a message is sent.
- End Component: The journey must have one End component, which marks the conclusion of the journey.
Step 3: Define Audience and Entry Criteria
- Specify the conditions under which users enter the journey, based on their properties (e.g., user demographics, app behavior).
- Set the Target Audience using filters to ensure only relevant users receive the messages.
Step 4: Set Frequency
- Adjust the frequency control settings to ensure users do not receive messages too often. You can define limits per day, week, or hour.
Step 5: Save the Journey
- Once all components are added, save your journey as a draft. You can edit or adjust the journey components at this stage before moving on to testing.
2. Maintaining the Journey
Step 1: Edit the Journey
- During the draft phase, you can make changes, such as adding new components, adjusting message timing, or changing conditions.
- Once the journey is active, you cannot edit it directly, but you can terminate the journey and recreate it with the necessary updates.
Step 2: Monitor Progress and Collect Data
- EngageLab provides detailed statistics for every journey. You can track metrics such as:
- Sent Messages: The total number of messages sent.
- Delivered Messages: The number of successfully delivered messages.
- Clicks: The number of users who clicked the message.
- Conversion Events: How many users completed the desired actions during the Journey.
Step 3: Test the Journey Components
- Before the full launch, test each message component by sending test messages to specific user segments.
- Check the behavior triggers, Wait, and messaging output to ensure they behave as expected.
Step 4: Update Journey Based on Performance
- Based on the collected statistics and user feedback, update and optimize your journey. This can include adjusting triggers, timing, or message content.
3. Publishing the Journey
Step 1: Structure and Integrity Check
- Before publishing the journey, ensure that it adheres to the following rules:
- It includes at least one message component.
- All components are correctly connected.
- There are no errors or missing connections.
- EngageLab will perform a structure check when you attempt to publish the journey, ensuring all components are properly configured.
Step 2: Final Review and Launch
- After all tests are complete and the journey is reviewed for accuracy, click Publish to go live with the journey.
- Once published, the journey is active and can no longer be edited unless it is terminated.
4. Component Descriptions for User Journeys
Here is a detailed explanation of the primary components and their usage:
Start Component
- Purpose: This component marks the beginning of the journey. Every journey must have a single Start component that outputs to other components.
- Key Characteristics:
- Uniqueness: There can only be one Start component per journey.
- Input/Output: It does not accept any input but requires at least one output connection to proceed with the journey.
- Default Behavior: A new, blank canvas will automatically include a Start component along with an End component.

End Component
- Purpose: This component marks the end of the journey, after which no further actions are performed.
- Key Characteristics:
- Uniqueness: Like the Start component, there can only be one End component per journey.
- Input/Output: It only accepts inputs from preceding components; it cannot output to any other component.
- Usage: All paths within a journey must eventually reach the End component, either because the user has completed the journey or triggered the exit conditions.

Message Component
- Purpose: This is the core component of the journey, responsible for sending notifications or messages to users.
- Types of Messages:
- App notifications
- Web notifications
- Emails
- SMS
- WhatsApp Messages
- Key Characteristics:
- Message Timing: You can configure when the message is sent (immediately, after a Wait, or at a specific time).
- Conditions:The message will be sent based on the defined conditions such as the user's behavior or other event triggers.
- Input/Output: The Message component requires one input from a previous component and outputs to the next component.
Send a push notification

Function Description of AI Write for Me

In AppPush/WebPush sending, we provide you with the powerful "AI Write for Me" function. This function utilizes artificial intelligence technology to generate personalized push copies for each user according to your specific needs, thus greatly improving the accuracy and effectiveness of message sending.
Theme Setting
You can customize the theme of copywriting generation according to actual business needs. This is the core basis for the content of the copy, for example:
- New User Discount: Used to attract newly registered users, and the copy is generated around the exclusive discount information provided for new users.
- Old User Reward: Aimed at rewarding long - term supporting old users, and the copy can be created around gratitude activities, exclusive benefits, etc. The theme description can be up to 500 words, allowing you to elaborate your requirements in detail.
Style Selection
You can customize the style of the copy, making the generated content fit the brand image or the preferences of the target audience. For example:
- Lively Style: The language of the copy is relaxed, witty, and full of vitality, suitable for push messages targeting young groups or for entertainment purposes.
- Serious Style: The wording is rigorous and formal, suitable for business cooperation, important announcements, and other scenarios. The style description can be up to 100 words.
Language Setting
AI will automatically match the corresponding language copy for users based on their end-user attribute language. However, to prevent cases where the end-user attribute language cannot be retrieved, you must select a default language. When the language attribute of a specific end-user cannot be retrieved, we will generate the copy according to the default language you selected. ######### Adding Variables This function supports adding multiple user attribute variables, and you can select multiple variables according to actual needs. Through these variables, AI can integrate personalized information of users, such as name, purchase history, etc. into the copy, achieving personalized push in a true sense and enhancing the relevance and interactivity between users and messages.
Send an email
Please make sure you have opened the email channel first. Select the Message Template you would like to send. We strongly encourage naming the template something recognizable so you can easily find it in the dropdown. Message scheduling is not currently supported. When a user reaches this step in your Journey they will be sent the message immediately.

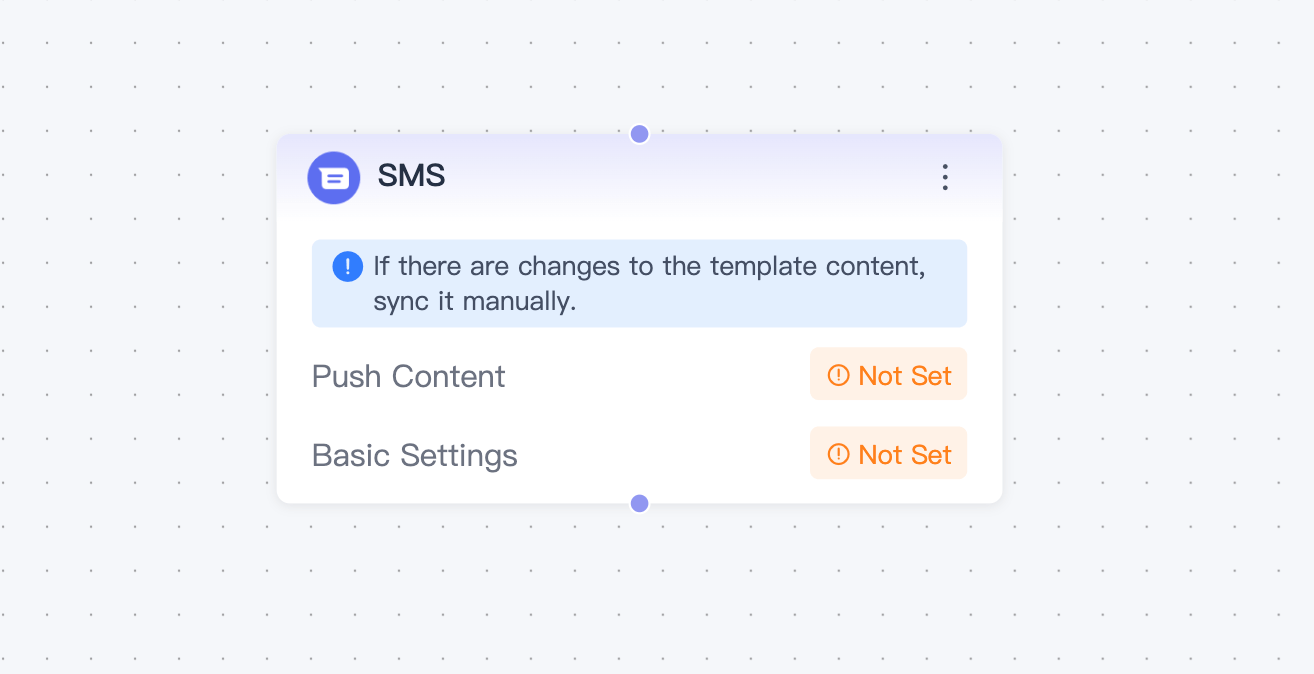
Send an SMS
Please make sure you have opened the SMS channel first. Next, make sure you’ve created an SMS template with the messaging you’d like to send out from your Journey. You can access this by:
- Once users reach that step in the Journey, SMS messages will send out to them immediately.
Wait Component
- Purpose:Users move the Journey in real-time. Use the wait action to space out your messages and steps. Define your wait time in minutes, hours or days. When a user enters these steps they will wait here the defined amount of time before leaving and going to the next step.
- example:If you send a message in the Journey and want to split users based on the interaction with that message, you should set a wait node for how long you want the user to interact with the message before continuing.

Time window Component
- Purpose:This is often used to space out messages or actions to avoid overwhelming users with too much communication at once.
- For example, if you want to only send a notification to users in the evening at the weekend, you could set up a time before the notification that specifies that the user can only progress to the message node during this time period.
- The time selection for the waiting time window supports the selection according to the organization's time zone or the end-user's time zone. When the end-user's time zone is selected, we will give priority to using the time zone information corresponding to the user attributes. If the corresponding time zone information is not set in the user attributes, we will use the time zone information of the device side reported by the Push SDK to determine the end-user's time zone.

Behavior Triggers Component
- Purpose:Behavior triggers allow you to define a series of triggers to separate users into different paths along the journey. You can choose multiple trigger conditions (such as users making purchases, starting sessions, customizing user relationships, etc.), you can choose multiple event combinations (the relationship between multiple events is AND or the relationship between multiple events is OR), and the relationship between attributes is AND.
- Types of Behavior:
- Events: 这里到事件描述的链接
- attributes:这里到属性描述的链接
